Add Printer Mac
Adding a printer to Mac X is extremely straightforward. Follow these steps.
- Plug your printer into your network or directly to your Mac.
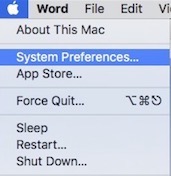
- Open System Preferences. Top Left Apple Icon -> System Preferences.
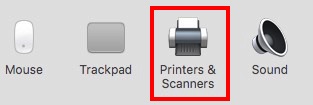
- Select Printers & Scanners in top middle bar.
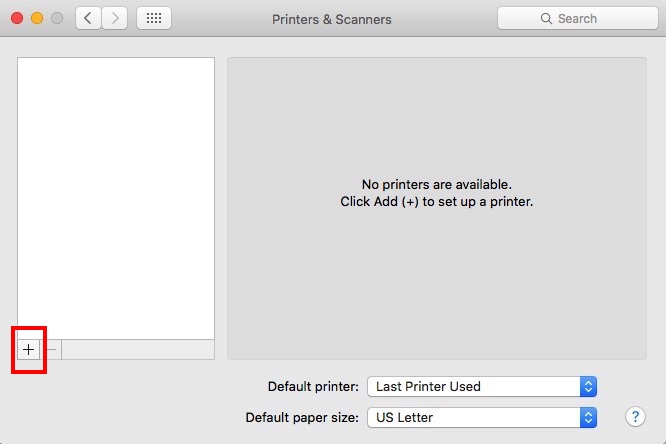
- You will be at the default add printer screen. Select the “+” at the bottom left.
- In the example, Mac X defaults to finding a network printer. It sees our printer online below in the list. Select it. Mac searches the Internet for a driver to use - Gathering printer information message.
- Name your printer. We named ours Default Printer. Click the drop down Use: and select the driver to use. *Apple has found a driver we can download – “The selected printer software is available from Apple…”
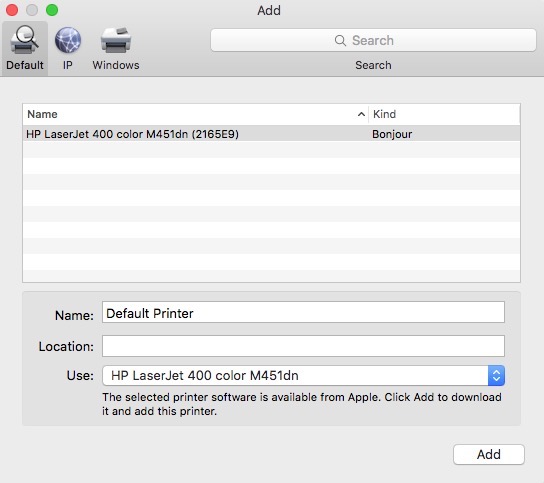
- Click Add.
- Since we are using the driver from Apple, your Mac will download and install the driver from Apple’s site. This may take a few minutes.
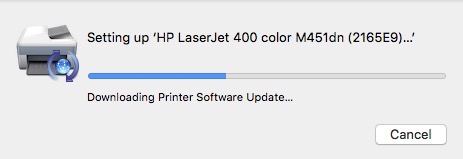
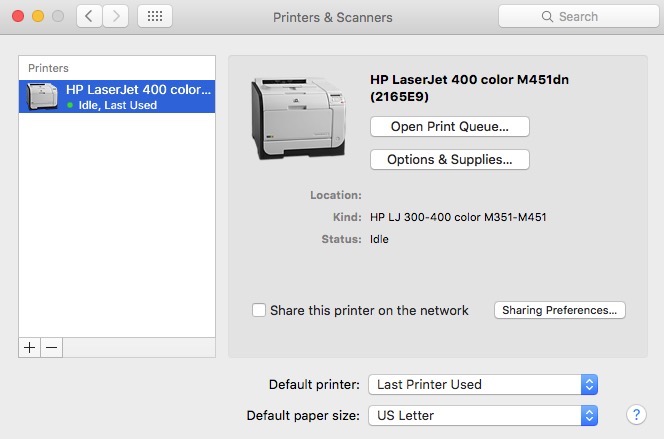
- After the printer installs, you should see it available per below. Now, you can use your printer to print from Microsoft Word, Acrobat, or your favorite application. The printer will now appear in the list of available printers when you go to print.
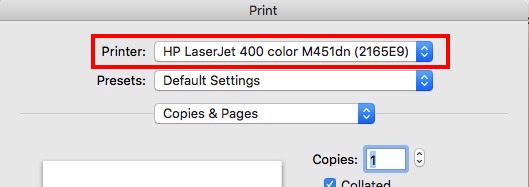
*Mac X Operating Systems comes bundled with Printer Drivers; however, we recommend installing the driver directly from the manufactures website to ensure you are using the latest one.
If you are connecting a USB printer…
-
Connect the USB cable from your printer to your Mac.
-
Power on the Printer. Mac X should see your printer connected and you should receive a pop-up to install the printer.
-
Consult your Printer documentation. You may need to download an added driver to get your USB printer to work with your Mac.
* Please use the comment form below. Comments are moderated.*

Comments