Add Printer Windows
Adding printers in Windows is a relatively simple task. Follow these instructions to add a network or directly connected printer to your Windows Operating System.
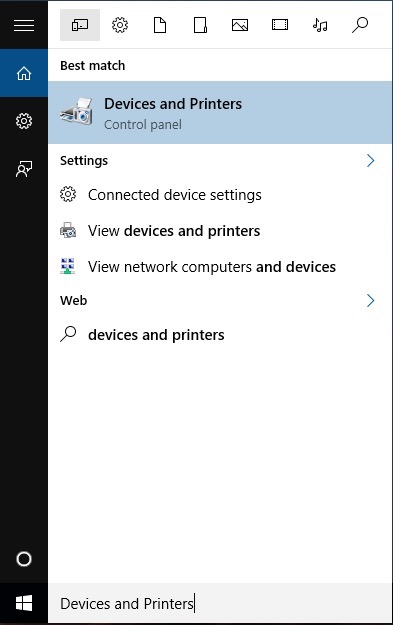
- Go to Windows Start bar in bottom left corner and type Devices and Printers. Open it.
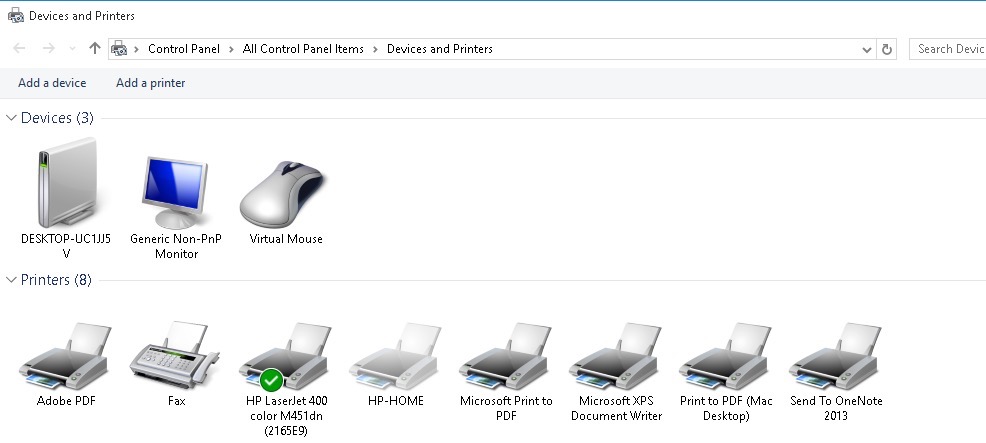
- You will see printers and other devices currently added. You may notice Adobe PDF added as a printer (Allows you to export PDFs in application).
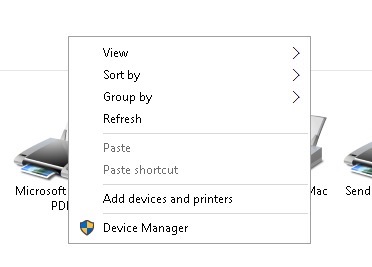
- Right-click anywhere in the window and select add devices and printers.
- Windows will automatically begin searching for printers. In this example, our printer is discovered over the network. Click the printer and select next.
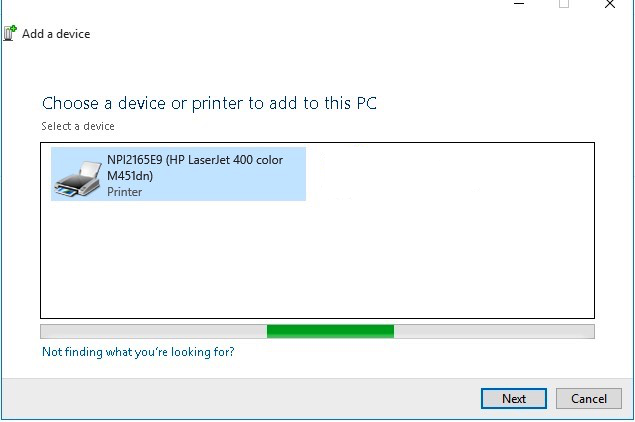
- Windows should begin to install the printer.
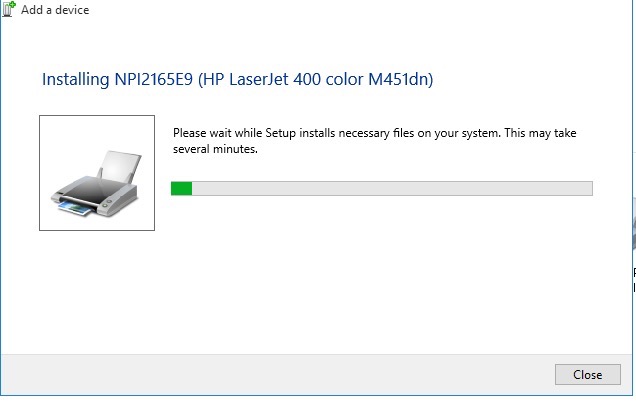
- If you did not have a printer installed before, the new printer will be installed as your default printer.
If your printer is directly connected via USB, follow the onscreen Windows prompts to installing your printer. You may need to manually download necessary drivers for your printer as well.
* Please use the comment form below. Comments are moderated.*

Comments