How To: Mac X Change System Font
Some of us like to control everything on our Mac. Now you can change the default system font of your Mac OS system by following these steps.
1. Determine the font you want to change your Mac system font to. In this example, we will be using SF Archery Black font. For reference, you can view the following font files currently installed on your Mac in the locations provided below. Also, a great free front website is FontSquirrel. You will need a .TTF font file for this guide.
Mac OS X Font Folder Locations:
USER -> Library-> Fonts
Hard Drive -> Library -> Fonts
Hard Drive -> System -> Library -> Fonts
2. Copy the font your using to your Desktop. In the example, we copied SF Archery Black font to our Desktop.

3. We need to edit our Font file to be able to be used as a Mac OS X system font. Download TTFEdit. Once downloaded, open ttfedit.jar inside the ttfedit-1.0a-bin folder. You may be prompted to install legacy Java for Mac (or the latest version) in order to launch TTFedit. Go ahead and do this.
4. Open your font in TTFedit. File -> Open.
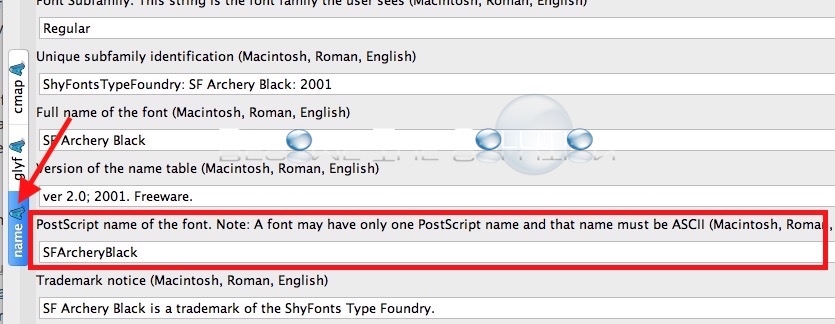
5. Click on the name tab on the left side of the screen. Note the line PostScript name of the font. See below.

6. You will need to change this field to the default postscript name of Mac OS X Systems fonts. Note: this is not compatible with 10.11 El Captain.
Change the Postscript name of the font field to:
.LucidaGrandeUI
7. Save your edited font file with a different name (add something to it so as to not overwrite your current font file in this folder) to Hard Drive -> Library -> Fonts.
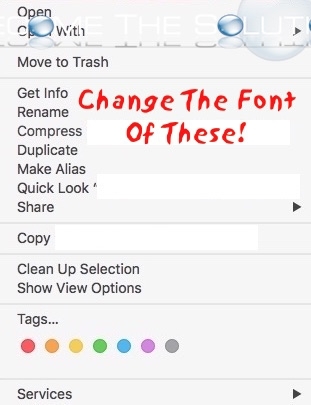
8. Reboot your Mac. Your font should load and be visible now in your Mac system menus and areas.


Comments 2
Doesn't work with Mac OS Monterey