How To: Mac X Show Print History Reprint

You can lookup the print jobs of your Mac X machine and determine to re-print them if necessary. Using CUPS (open source printing system), you can track and re-print old print jobs in Mac X. Let’s get started.
1. First, we need to enable the cups backend browser GUI. Open Mac X Terminal
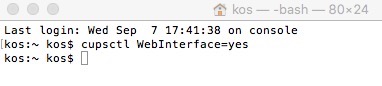
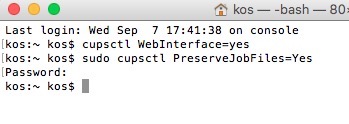
2. Type cupsctl WebInterface=yes and hit return
1. First, we need to enable the cups backend browser GUI. Open Mac X Terminal
2. Type cupsctl WebInterface=yes and hit return
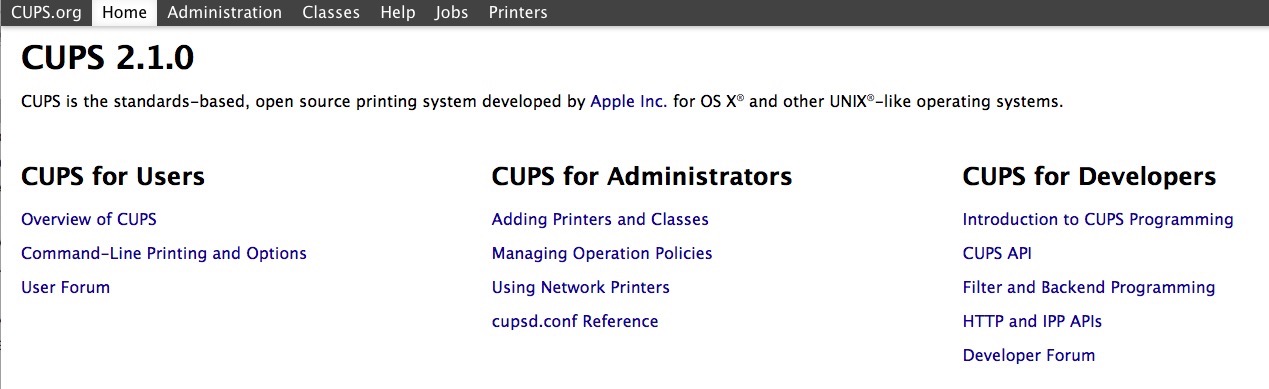
3. Open Safari. Type the following URL into Safari: http://localhost:631 You will be presented with the page similar below.
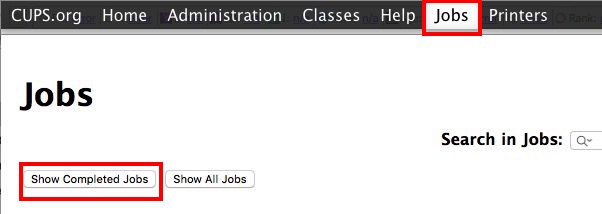
4. Navigate to Jobs then click Show Completed Jobs
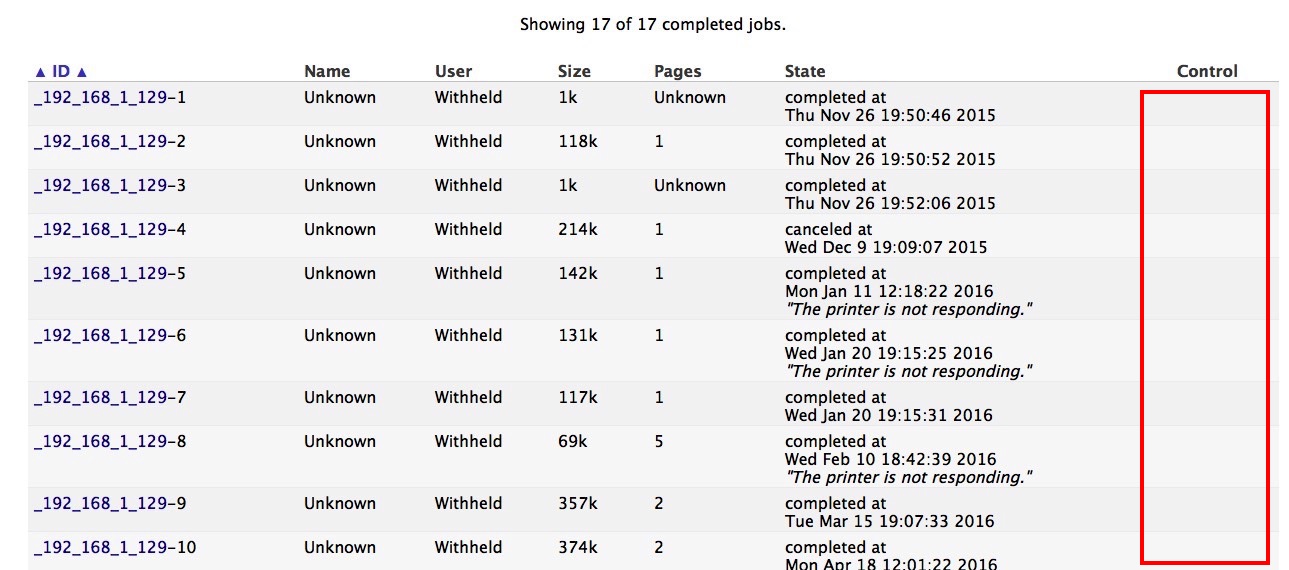
5. Here you will see a list of all completed jobs since your Mac OS was born. Notice the Control column here. This is where you would see a re-print option. Chances are you aren’t seeing this. By default, re-print isn’t enabled with CUPS and we will need to manually enable this.
6. Go back to Terminal and type the following command: sudo cupsctl PreserveJobFiles=Yes Hit enter and you will be prompted for your user account password.
7. Now, print a new job. You can print anything. You will now see the lovely Reprint Job button in the Control column. Yay!

You can set the amount of Reprint jobs the CUPS queue will remember. Do so in Terminal by specifying a value.
Type sudo cupsctl MaxJobs=100 (sets memory of jobs to be 100)
Enjoy!