How to Create a New Windows DNS Zone
This guide will demonstrate the simple steps of creating a new DNS forward lookup Zone in windows DNS. You might be doing this to accommodate a new internal or external domain for your network. We will use the default values Windows DNS uses when creating our zone. We will use Windows DNS manager to create the zone on a different machine.
- Install the Windows DNS manager.
- Start -> Control Panel -> Administrative Tools then open Service Manager
- Select roles and click add roles
- Install DNS Server
- Create a new lookup zone
- Launch the DNS tool you just installed located at Start -> Administrative Tools -> DNS
- Add your DNS server by IP address
- Expand the DNS server tree
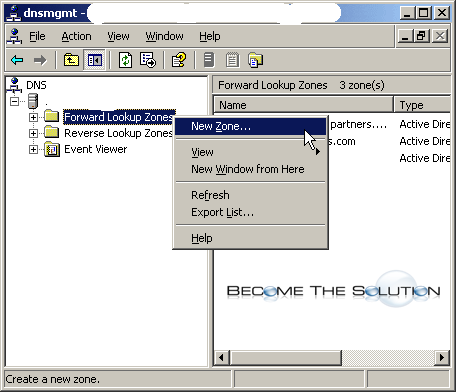
- Right-click the zone tree and select New Zone. This will start the DNS Zone configuration wizard. Follow the screenshots below.
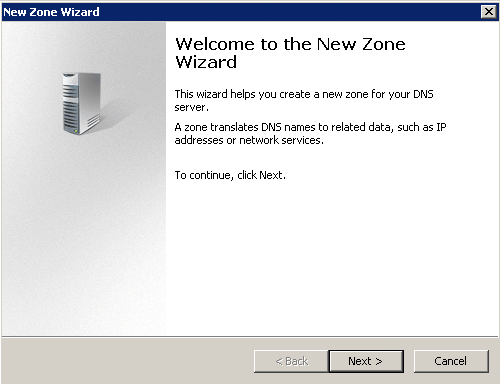
Click NEXT
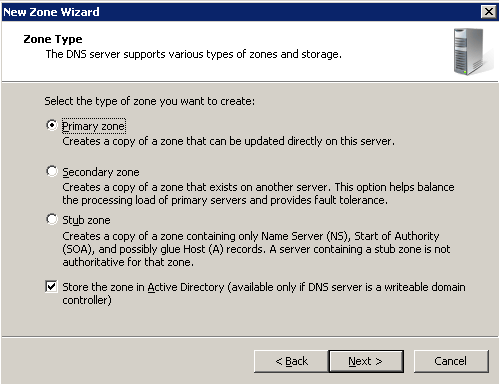
Select Primary Zone
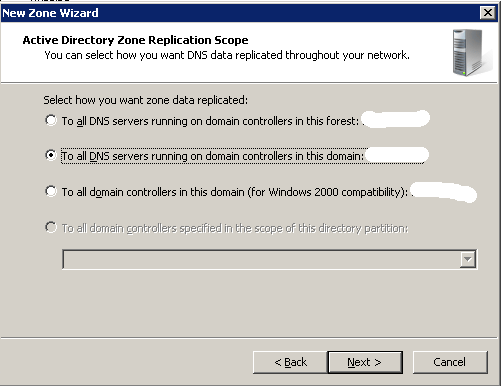
Select: To all DNS servers running on domain controllers in this domain - Click next
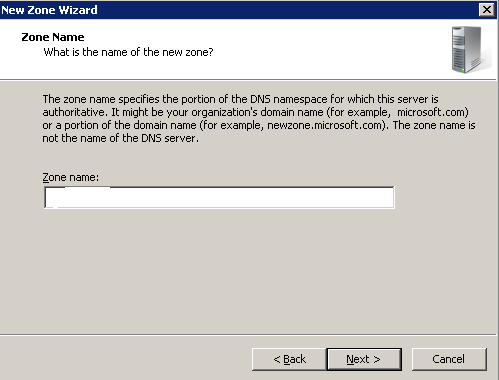
Name the new DNS zone. It must be named in domain format. Click Next.
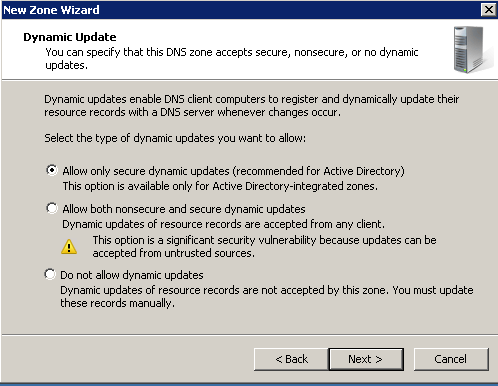
Select Allow only secure dynamic updates. Click Next
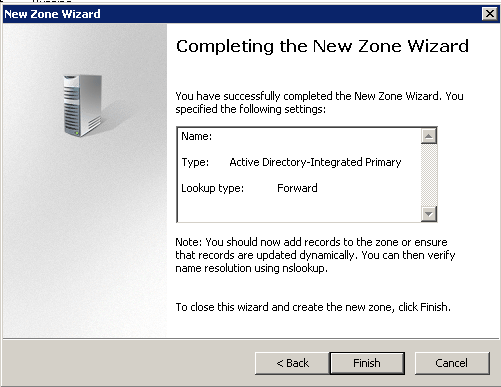
Click Finish.
The new Zone should now appear in your DNS server forrest. Congratulations!
* Please use the comment form below. Comments are moderated.*
Comment for this post has been locked by admin.
